Use Network Blocks to Prevent DOM Modification by Third-Party Scripts
“DOM pollution” can be challenging for Fluxguard’s web change monitoring. Often, DOM element changes can increase false-positive results: legitimate changes are reported, albeit insignificant. An example of this is Google Analytics adding a session variable to an iframe or inserted tracking pixel.
To reduce false-positives, Fluxguard’s “Network Blocks” feature can suspend resource loading from targeted sites. It is similar to AdBlock: identify the domains, and we block their resources.
(If network activity is your change detection strategy, take a look at a comparable feature under “Network Comparison: Whitelist domains.”)
Let’s examine how to use Network Blocks:
1.Add Network Blocks at the Org-level or Session-level
To add Network Blocks at the org-level, go to Account Settings. These will apply to every site owned by your org. This is a quick way to apply an identical list of blocks to every site.
In this tutorial, Network Blocks will be added at the session-level. This limits the scope to a singular site.
2.Click into Session Settings
This is where you will add Network Blocks.
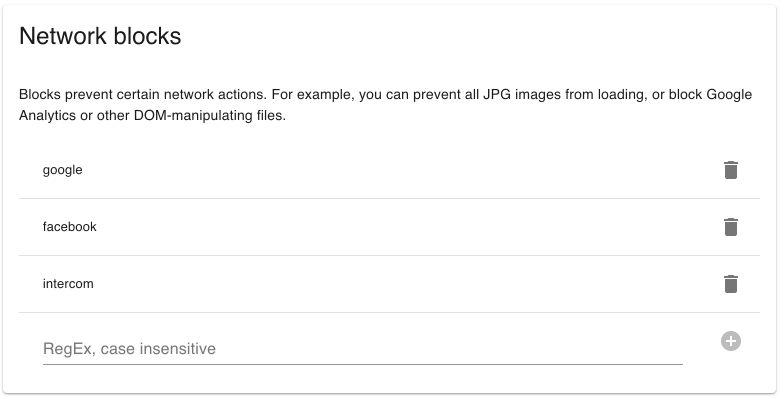
3.Click the “Filters” tab, and scroll to the Network Blocks section to add the domains to be blocked.
For this example, Google, Facebook, and Intercom third-party scripts have been blocked. This will reduce DOM “pollution” and better monitor each page without stumbling over false-positives.
To verify that everything works, scroll up and change the new version trigger to HTML change (visual or text changes may not prompt a new version)
4.Save; then on the Session View, click “Play,” and compare the DOM changes
Once the Network Blocks has been saved, click the “play” button on the session page.
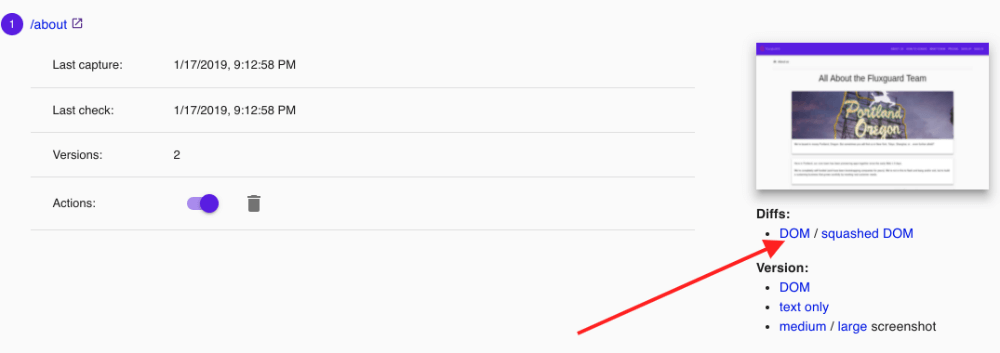
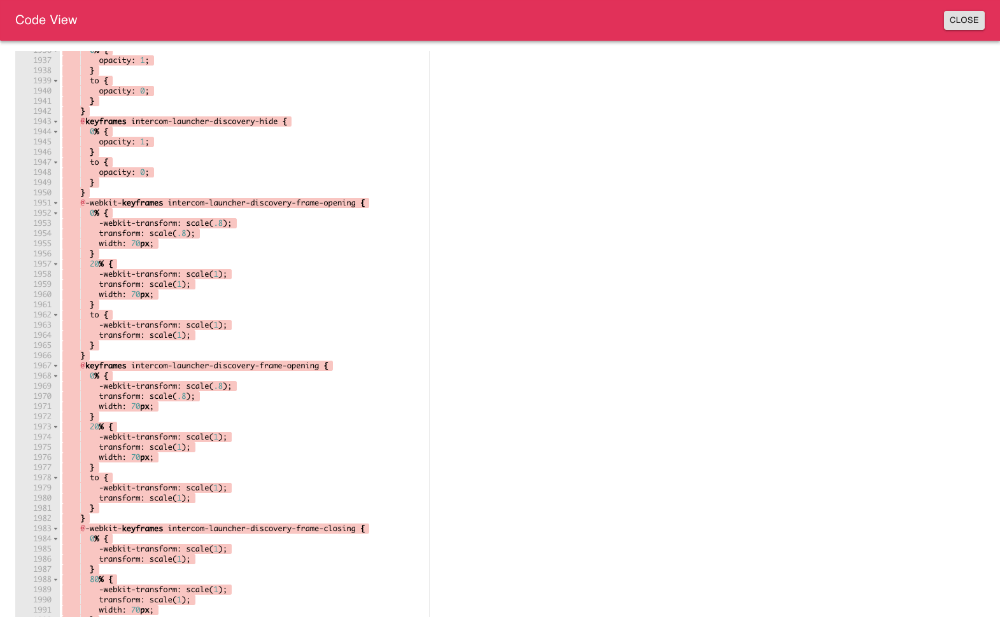
Wait a moment! Presuming that you performed a crawl before adding the Network Blocks, you can click the DOM diffs:
Note that all the DOM insertions from the third-party scripts are gone! The DOM itself will still retain the actual references to the scripts — but since they aren’t loaded, none of their actions will transpire.
Click the “Network Diff” tab and observe how Google, Facebook, and the other blocked third-party scripts didn’t load.
Note: modifications detected after the first crawl with Network Blocks (providing an initial crawl was performed without them) will be detailed in the next summary of changes. This sometimes confuses customers, but it’s a useful way to verify that everything’s working.
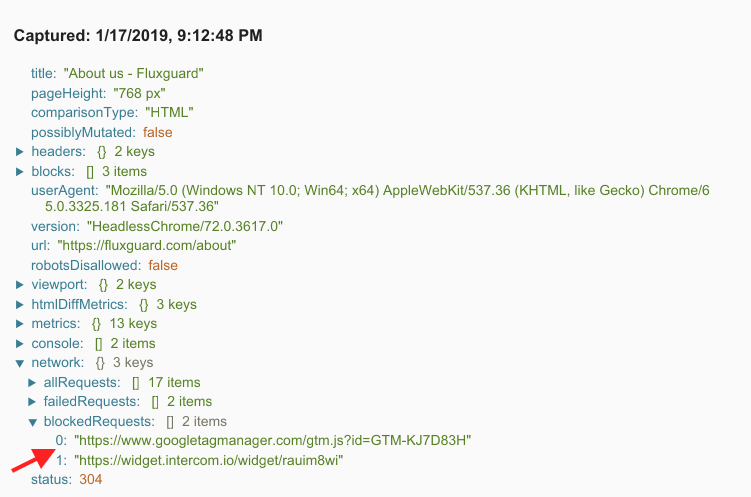
5.Click into the Page View to review captured data
Look at the network activity to see a list of blocked URLs.
6.You’re all set!
Now you’ve learned how to apply Network Blocks! Remember, you can add Network Blocks for all sites in Account Settings as well.
For more ways to reduce false-positives, check out how to use filters.
In Network Blocks, you will find options to toggle prepackaged options, including an Adblock and Fluxguard-specific block list. We recommend turning these on. Learn more.


