Monitor Visual Changes to Websites
Visual change detection is one of Fluxguard’s core monitoring strategies. Our customers use this tactic to identify pixel discrepancies on any website. Use cases include detecting key image changes, CSS errors, faulty image loading, and so on. Let’s dig in.
1. Add the page/site and do an initial crawl
An initial crawl will collect a baseline of all data about the page, including a screenshot, complete HTML, extracted text, and a HAR network profile.
2. Click into Session Settings
Fluxguard allows you to add numerous sessions per site. A session can be regarded as a discrete user flow through a site: such as registering a user, ordering a product, and so on.
It’s at the session level where most of Fluxguard’s powerful configuration options are offered.
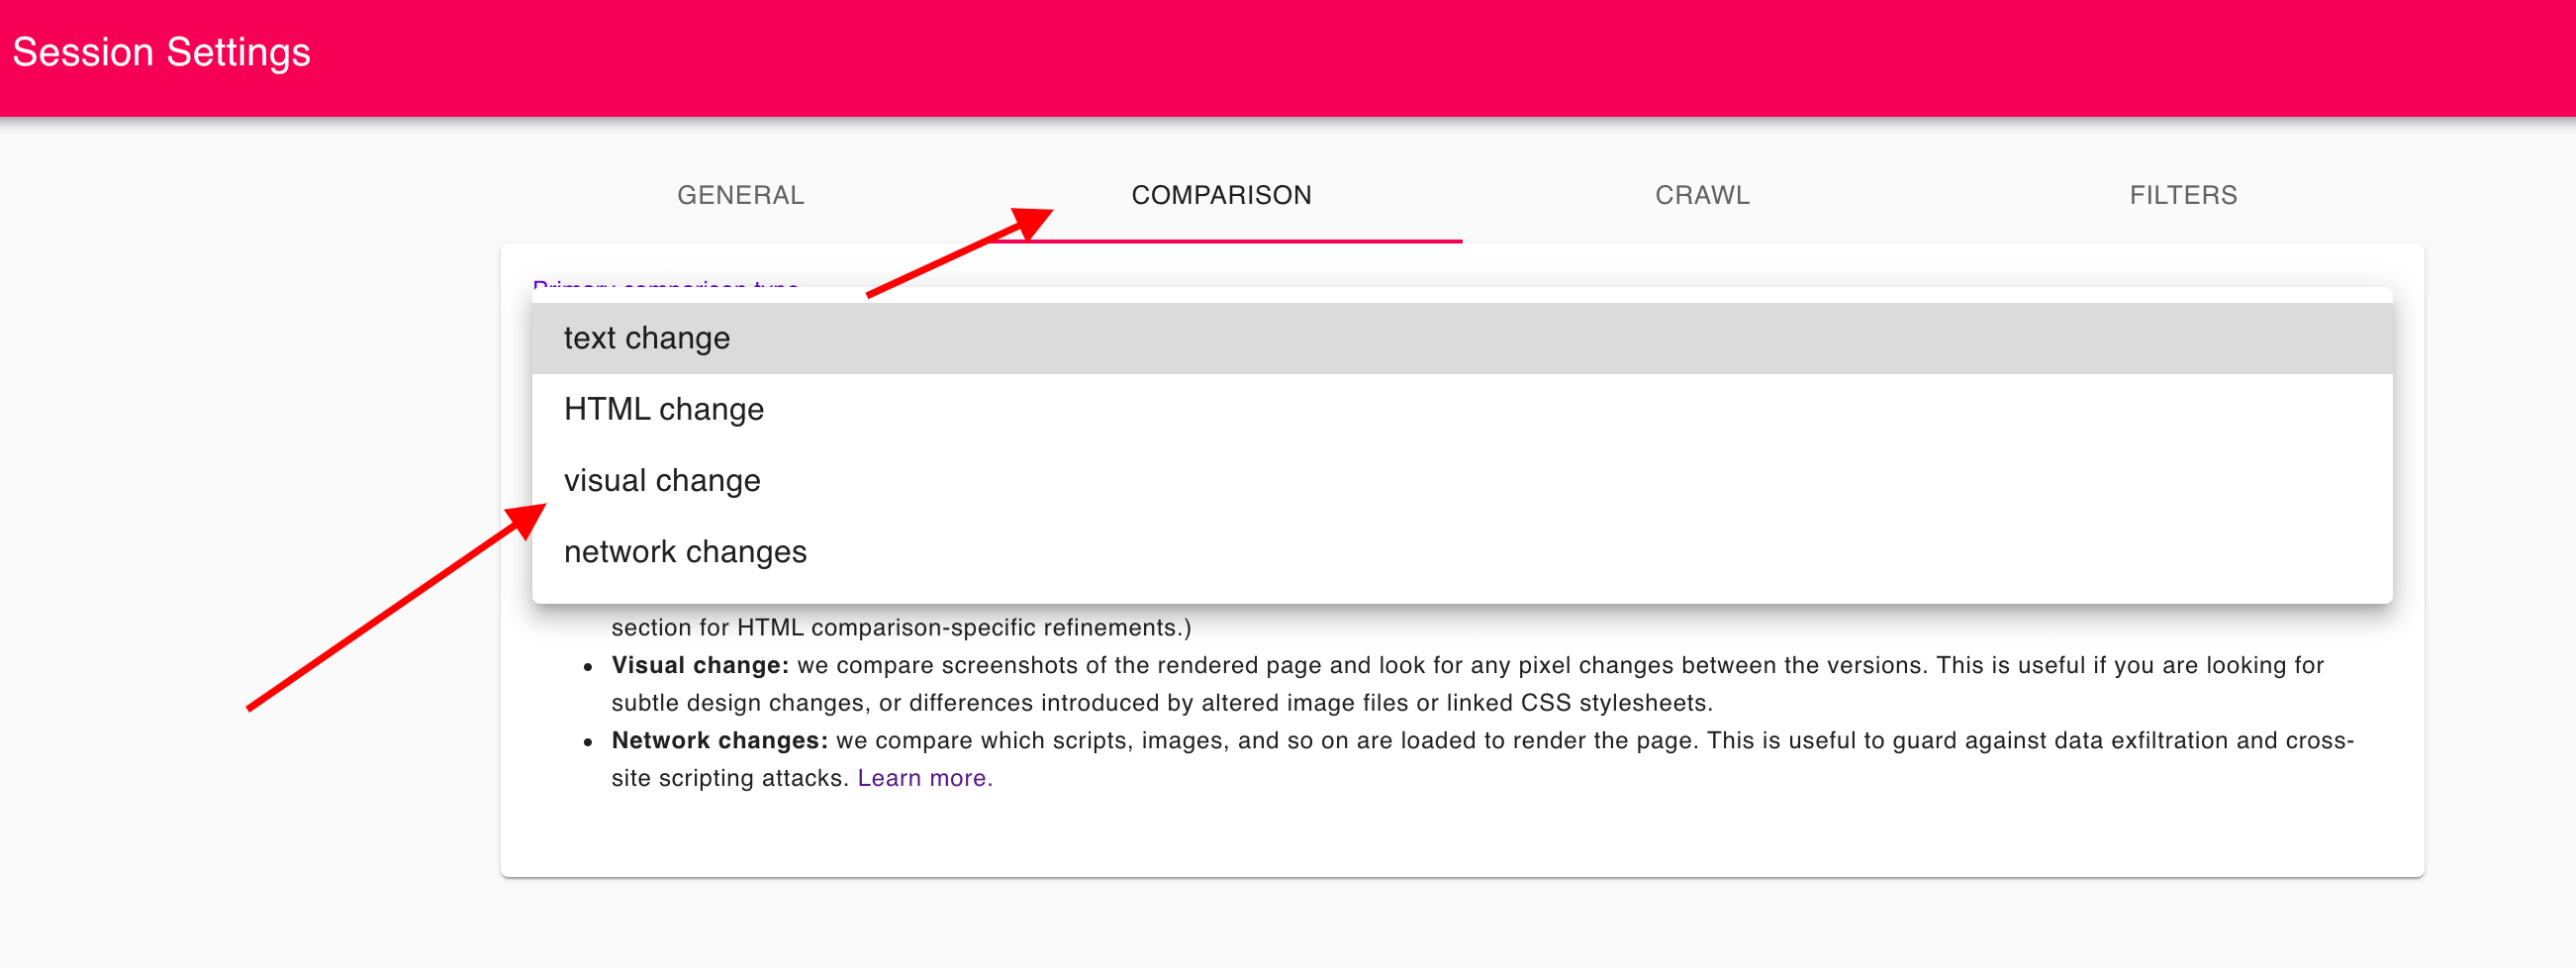
3. Click the “Comparison” tab; switch the primary comparison to “visual change”
4. Induce a visual change
The best way to accomplish this is to test monitor a page that modifies its appearance often, such as cnn.com or another news site. As an alternative, to the extent that you can modify a target page, change the HTML. Or, perhaps best of all, use Fluxguard’s filters to eliminate an entire DOM element, such as a header or footer in an instant.
From there, initiate a new crawl from the Session View.
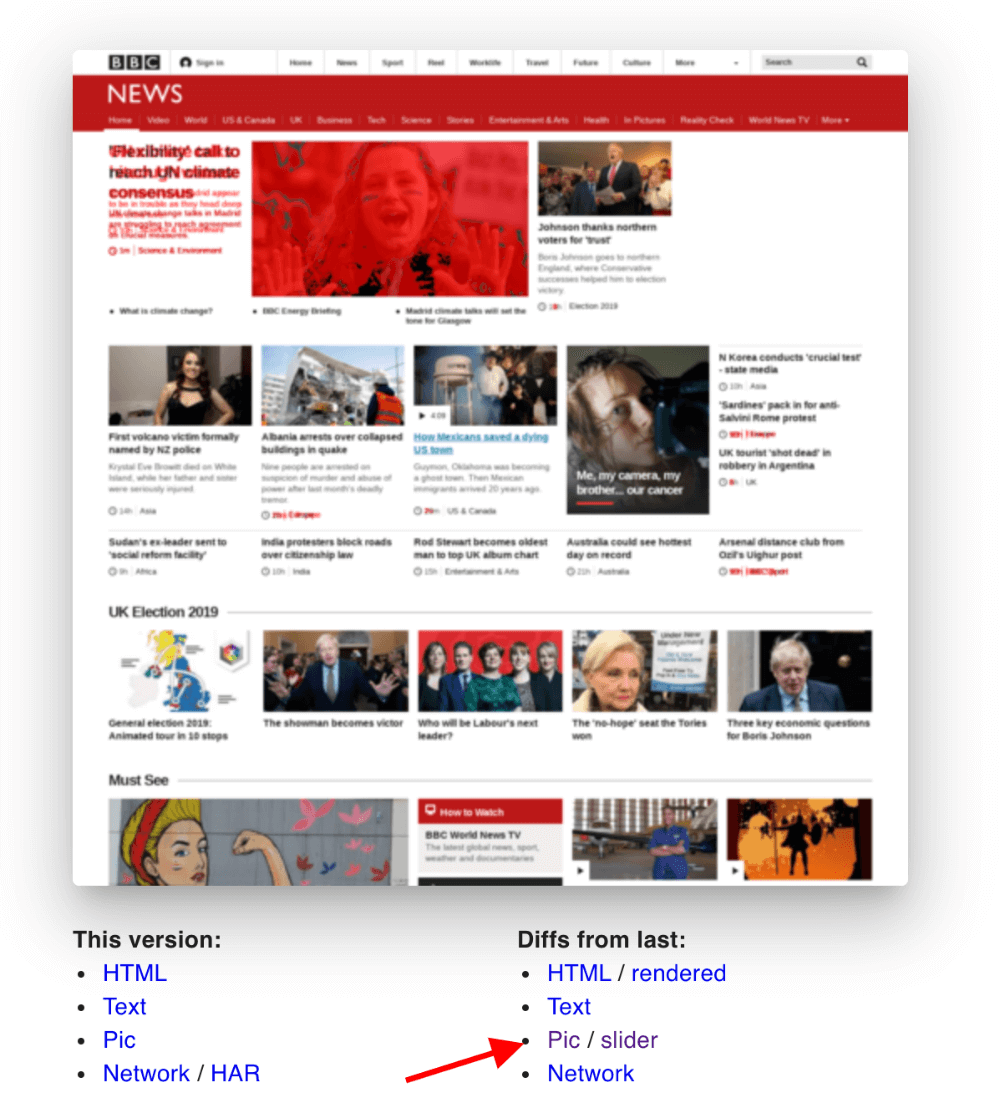
This will result in a new captured version and multiple change comparisons. Below the new capture, click the “visual” diff link.
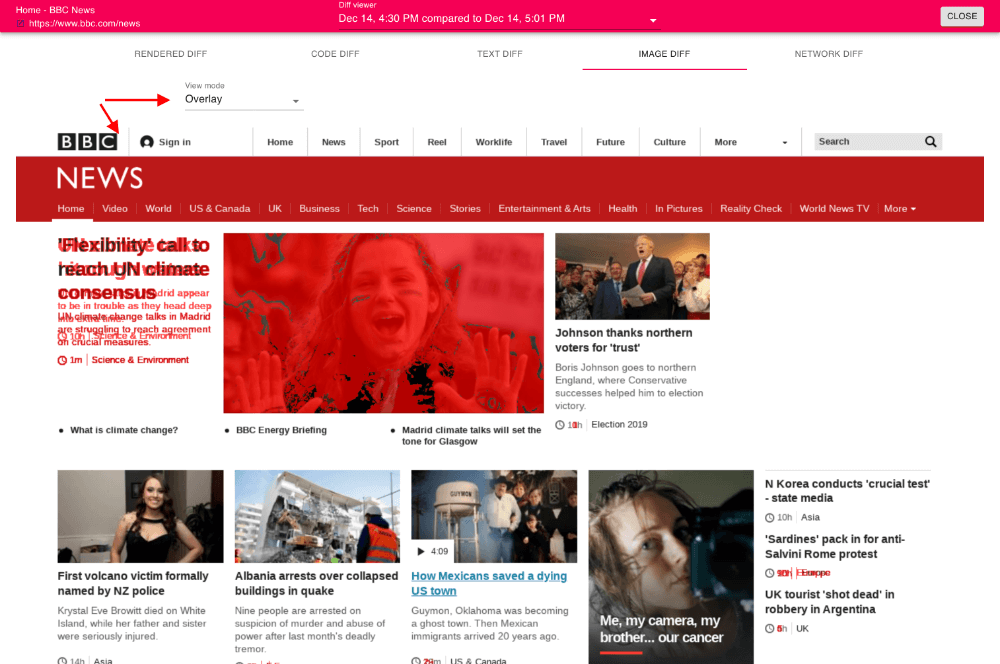
Use an overlay to view pixel changes (in red):
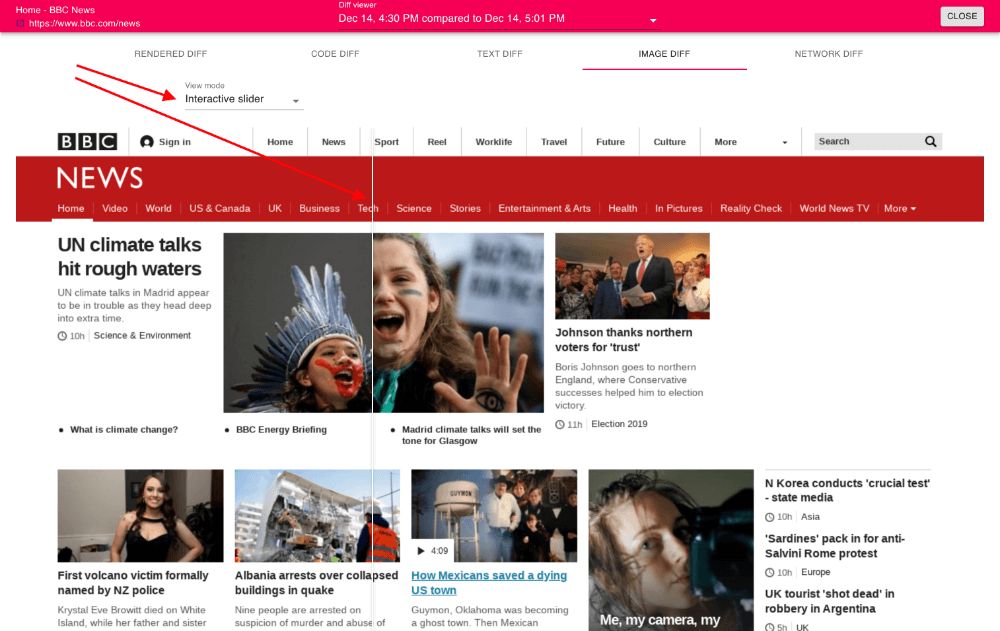
Or a slider to compare the screenshots:
5. Consider your change monitoring strategy
In particular:
- Adjust email alert frequency in Account Settings
- Use Webhooks to integrate into other systems
- Manually start session crawls, or schedule them to occur at any preferred frequency


