Visual Regression Testing
Visual change monitoring is a core feature of Fluxguard. We provide multiple image change detection and comparisons.
Visual change monitoring provides a sophisticated and nuanced change monitoring strategy for specific use cases, in particular for defacement monitoring and visual regression testing.
Our General Website Change Monitoring Approach
Fluxguard utilizes multiple approaches:
- Text change comparison
- HTML/DOM change comparison
- Network activity change comparison
- Visual (screenshot) comparison
After a new site is added to Fluxguard, we use text change comparison as the default monitor. Once a text change is detected, we perform the above-listed methods to provide a complete change audit.
Visual Regression Testing and General Purpose “Pixel-Perfect” Change Monitoring
Text comparison as the primary difference approach is suitable for most use cases: after all, changes in textual information is a good compromise approach for most customers. HTML/DOM changes can be too “jumpy” unless filtered: that is to say, the rendered DOM will often change on a visit-to-visit basis due to Javascript DOM manipulation. Text comparison, by contrast, will still capture key changes, but will ignore “invisible” code-only alterations.
Many IT customers will change Fluxguard’s primary monitoring to detect HTML/DOM edits. This is due to “code-level” changes that often introduce new bugs, defacement, or other defects that may not surface in extracted text comparisons.
Yet, HTML/DOM change comparisons, and even network diff’ing, are sometimes insufficient for some use cases, in particular defacement monitoring and visual regression testing.
Why?
Because some image variations won’t even be captured by DOM/HTML changes. How is this possible? Won’t all image changes be reflected at least as src changes on img tags?
To the contrary:
- Images can change due to subtle CSS differences in linked files: this will result in no detected HTML/DOM change
- Images can alter due to source changes of the image itself: this will also result in no detected HTML/DOM change, as the originating URL is the same
The above examples may appear contrived, for certain. However, they’re often key defacement vectors because they are challenging to detect.
Instrument Fluxguard to Use Visual Monitoring First
Let’s explore how to enable visual change comparison as the primary mechanism in Fluxguard:
1.Add the page/site and do an initial crawl
An initial crawl will collect a baseline of all data about the page, including a screenshot, complete HTML, extracted text, and a HAR network profile.
2.Click into Session Settings
Fluxguard allows you to add numerous sessions per site. A session can be regarded as a discrete user flow through a site: such as registering a user, ordering a product, and so on.
It’s at the session level where most of Fluxguard’s powerful configuration options are offered.
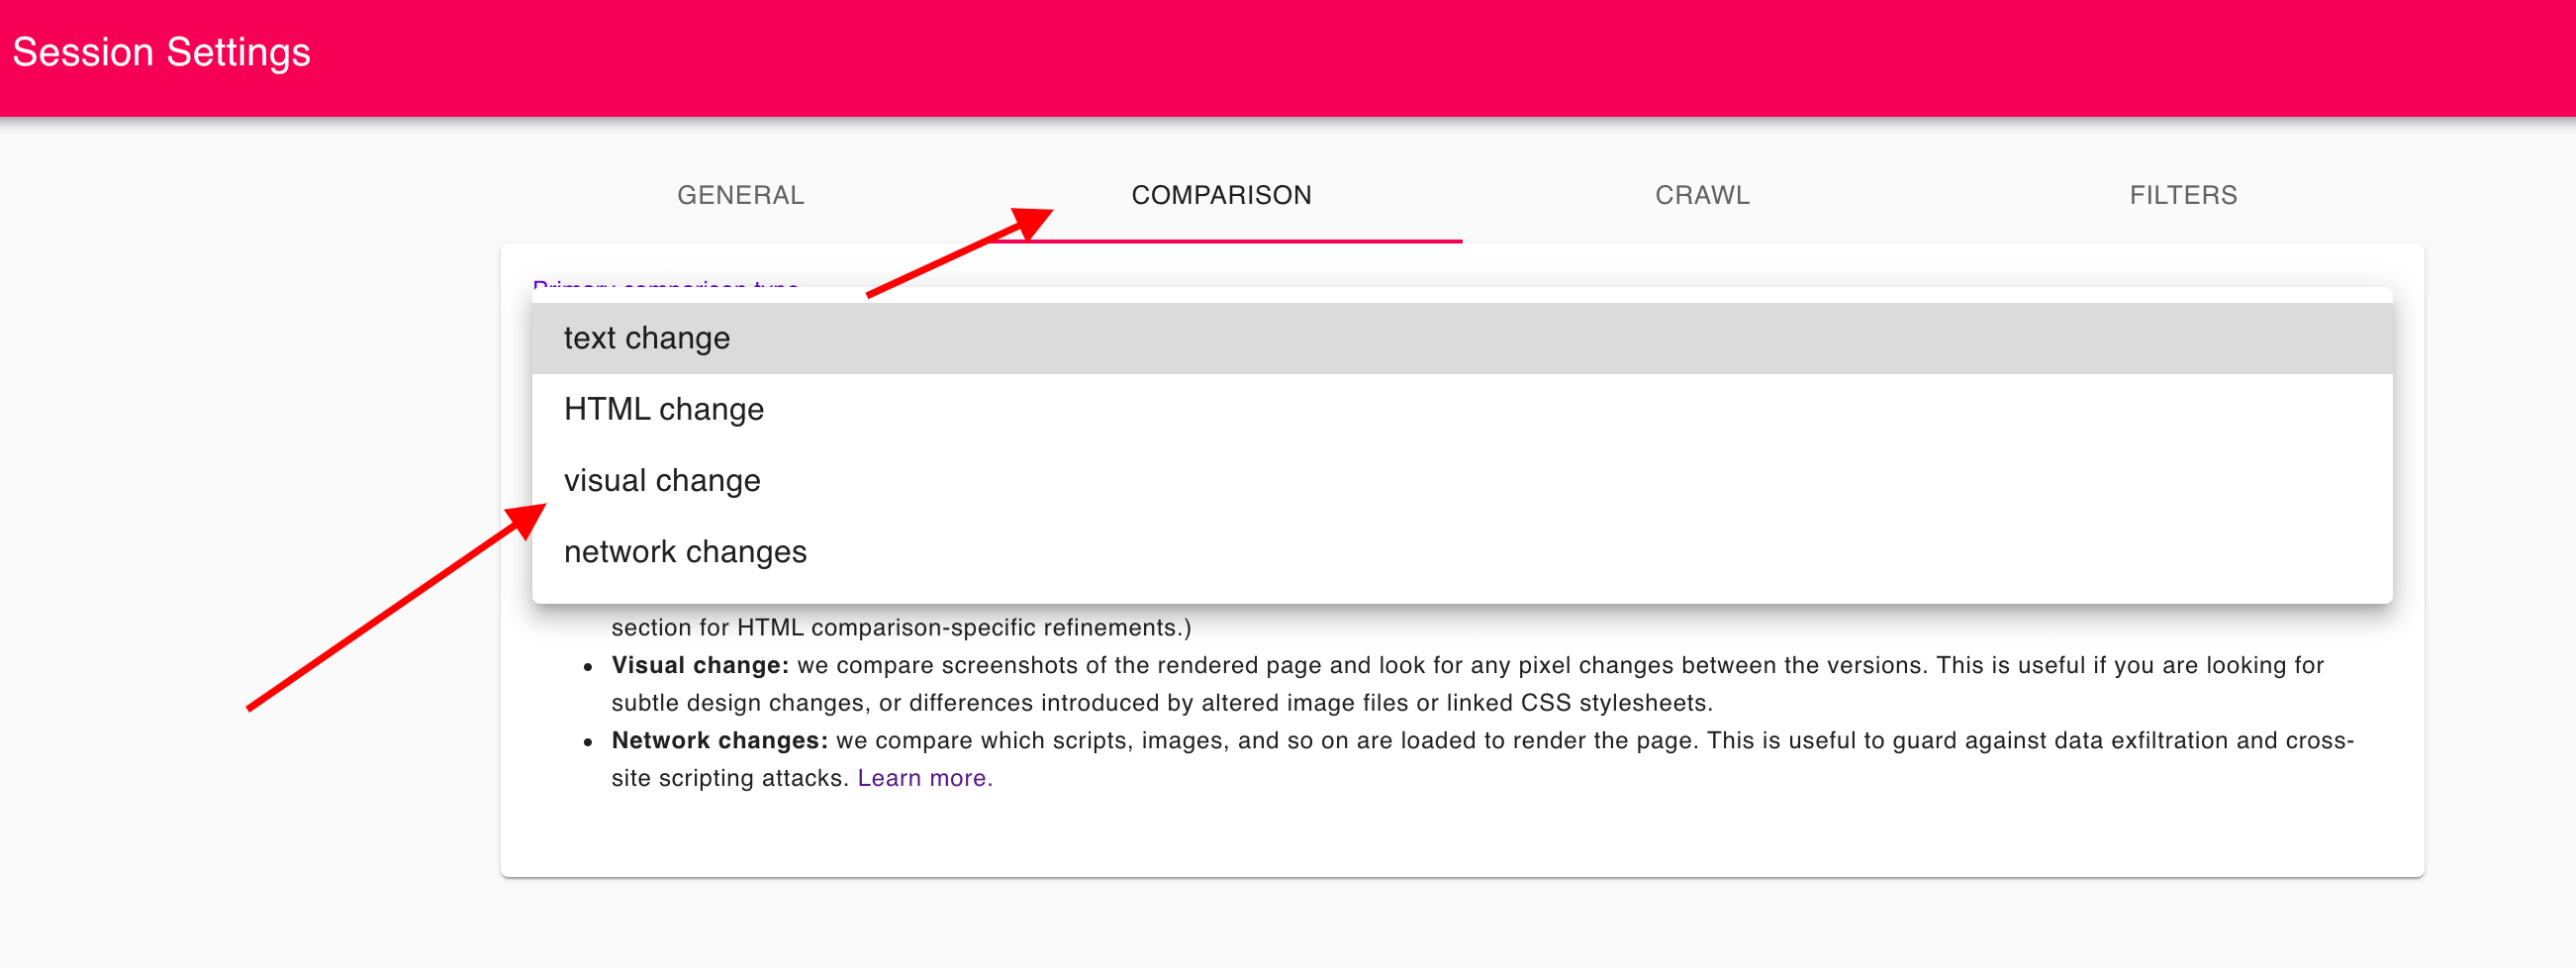
3.Click the “Comparison” tab; switch the primary comparison to “visual change”
4.Induce a visual change
The best way to accomplish this is to test monitor a page that modifies its appearance often, such as cnn.com or another news site. As an alternative, to the extent that you can modify a target page, change the HTML. Or, perhaps best of all, use Fluxguard’s filters to eliminate an entire DOM element, such as a header or footer in an instant.
From there, initiate a new crawl from the Session View.
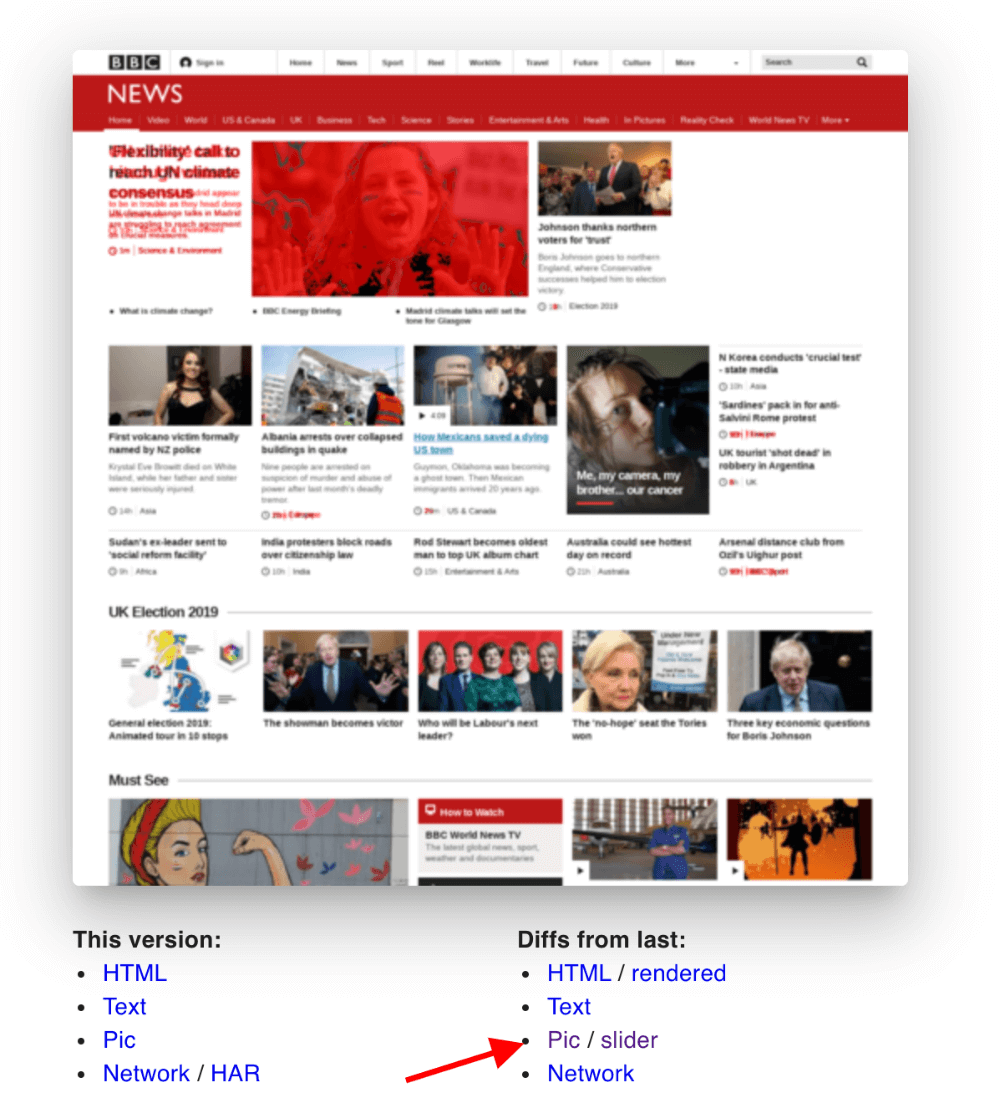
This will result in a new captured version and multiple change comparisons. Below the new capture, click the “visual” diff link.
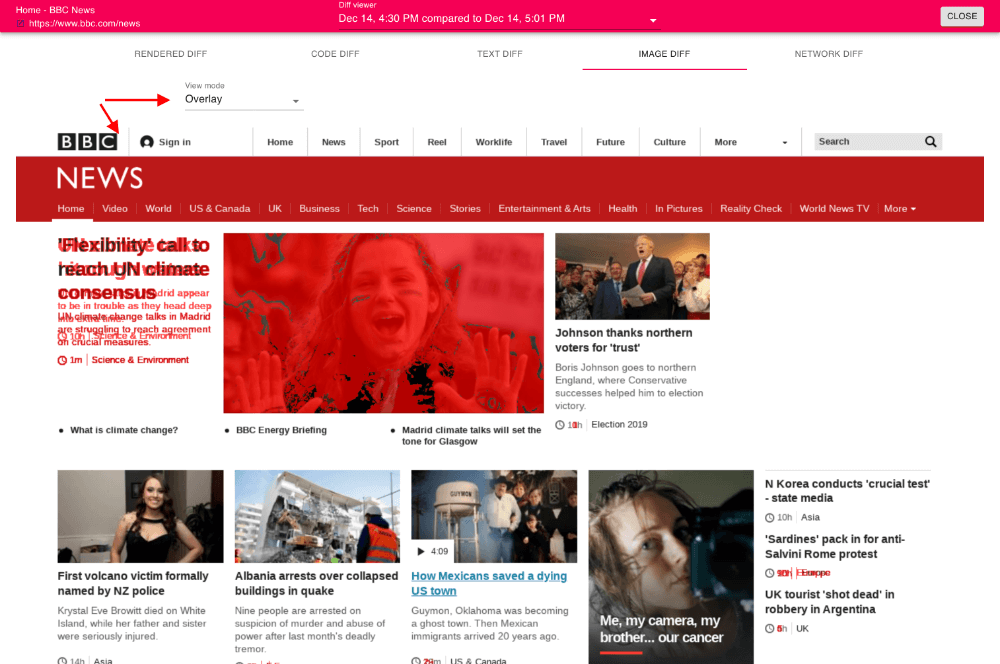
Use an overlay to view pixel changes (in red):

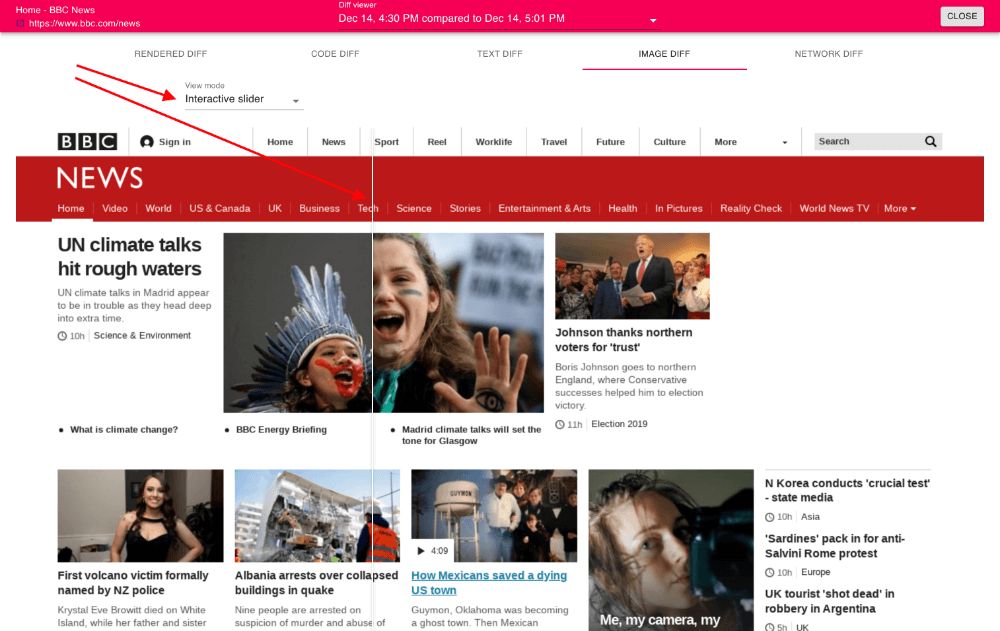
Or a slider to compare the screenshots:

5.Consider your change monitoring strategy
In particular:
- Adjust email alert frequency in Account Settings
- Use Webhooks to integrate into other systems
- Manually start session crawls, or schedule them to occur at any preferred frequency


